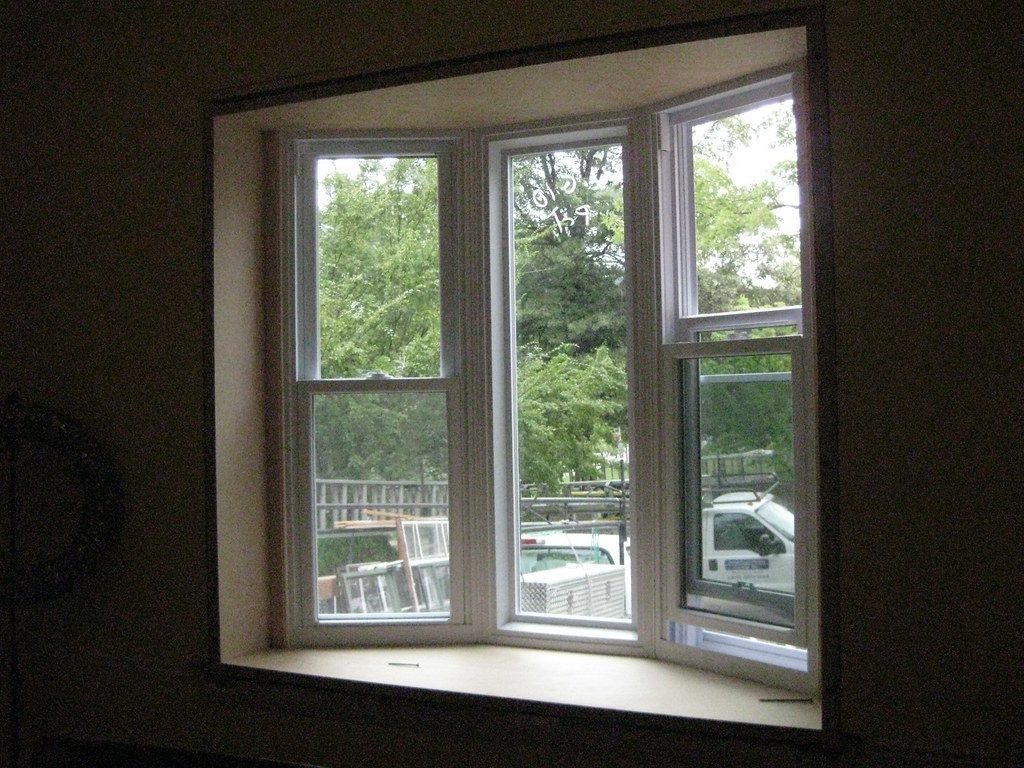
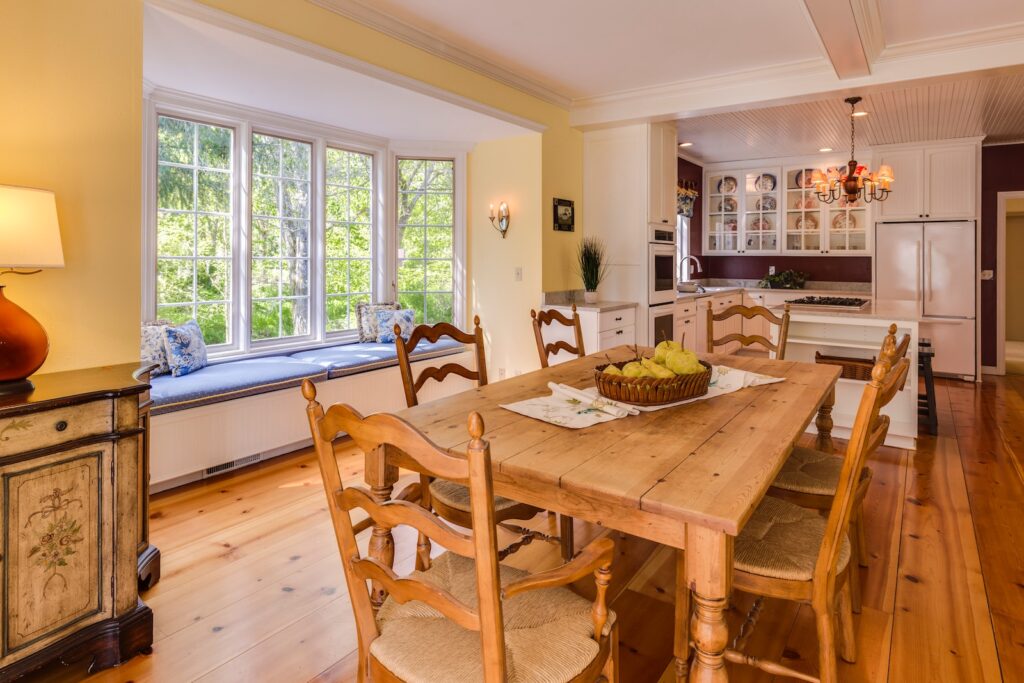
Bay windows are a beautiful addition to any home. They provide plenty of natural light and a stunning view of the outdoors. However, it can be a bit of a challenge to find the perfect window treatment for bay windows. If you’re looking for a practical and stylish solution, installing blinds is a great option.
In this guide, we’ll walk you through the steps on how to install blinds on bay windows. Whether you’re a DIY enthusiast or a beginner, we’ll provide you with all the information you need to get the job done right. Say goodbye to the hassle of finding the perfect window treatment and hello to a beautiful and functional addition to your home!
- Measure the windows: Measure the width and height of each window and note them down.
- Choose the blinds: Choose the type of blinds that will fit your bay windows. You can choose from roller, vertical, or Venetian blinds.
- Install brackets: Install the brackets on the top of the window frame where you want to mount the blinds.
- Attach the headrail: Attach the headrail of the blinds to the brackets.
- Hang the blinds: Hang the blinds on the headrail and adjust them to fit the windows.

How to Install Blinds on Bay Windows: A Step-by-Step Guide
Bay windows are a beautiful architectural feature in many homes, but they can be tricky to outfit with window treatments. Blinds are a popular option for bay windows because they offer privacy and light control without obstructing the view. If you’re wondering how to install blinds on bay windows, this guide will walk you through the process step by step.
Step 1: Measure Your Windows
The first step in installing blinds on bay windows is to measure your windows. Measure the width of each individual window as well as the depth and height of the bay. If you’re installing inside mount blinds, make sure to measure the width and height at the inside of the window frame. If you’re installing outside mount blinds, measure the width and height of the area where the blinds will be mounted.
Once you have your measurements, it’s a good idea to double-check them before ordering your blinds. Most blinds manufacturers will provide instructions on how to measure for blinds on bay windows, so be sure to follow their guidelines.
Step 2: Choose Your Blinds
There are many types of blinds that work well on bay windows, including vertical blinds, cellular shades, and Roman shades. Consider the style and function you’re looking for as well as your budget when choosing your blinds. Some blinds are more expensive than others, but they may offer better light control or insulation.
Vertical Blinds
Vertical blinds are a popular choice for bay windows because they can be hung from the ceiling or the window frame and can be adjusted to let in light and provide privacy. They also come in a variety of materials, including vinyl, fabric, and wood.
Cellular Shades
Cellular shades are a great option for bay windows because they offer insulation and can be customized to fit the shape of your windows. They come in a variety of colors and styles, so you’re sure to find something that fits your decor.
Roman Shades
Roman shades are a stylish option for bay windows that provide a clean, streamlined look. They’re available in a variety of fabrics and colors and can be made to fit the exact dimensions of your windows.
Step 3: Install Your Mounting Brackets
Once you’ve chosen your blinds, it’s time to install your mounting brackets. If you’re installing inside mount blinds, the brackets will be attached to the inside of the window frame. If you’re installing outside mount blinds, the brackets will be attached to the wall or ceiling above the window.
Make sure to follow the manufacturer’s instructions for installing the brackets. It’s important to make sure they’re level and securely attached to the wall or window frame.
Step 4: Hang Your Blinds
Now that your brackets are installed, it’s time to hang your blinds. If you’re installing vertical blinds, simply slide the headrail into the brackets and secure it in place. If you’re installing shades, follow the manufacturer’s instructions for attaching the shade to the headrail.
Once your blinds are hung, test them to make sure they’re working properly. Adjust the cords or chains to open and close the blinds or shades.
Step 5: Add Finishing Touches
After your blinds are installed, you may want to add some finishing touches to complete the look. Consider adding valances or cornices to hide the headrail and add a decorative touch. You may also want to add tiebacks or holdbacks to keep the blinds or shades in place when they’re open.
Benefits of Installing Blinds on Bay Windows
There are many benefits to installing blinds on bay windows, including:
- Privacy: Blinds offer privacy when you need it and can be adjusted to let in light when you don’t.
- Light control: Blinds allow you to control the amount of light in your room, which can be especially important if you have a television or computer in the room.
- Insulation: Some types of blinds, such as cellular shades, offer insulation to help keep your room warm in the winter and cool in the summer.
Blinds vs. Curtains for Bay Windows
While curtains are also a popular option for bay windows, there are some key differences between blinds and curtains to consider.
- Functionality: Blinds offer more light control and privacy than curtains. They can be adjusted to let in light while still providing privacy, whereas curtains must be opened or closed to achieve the same effect.
- Cleanliness: Blinds are easier to clean than curtains. They can be wiped down with a damp cloth, whereas curtains may need to be taken down and washed.
- Style: Both blinds and curtains come in a variety of styles and colors, so it’s really a matter of personal preference. Blinds tend to offer a more modern, streamlined look, while curtains can be more traditional or formal.
Conclusion
Installing blinds on bay windows can be a great way to add privacy, light control, and style to your home. By following these simple steps and choosing the right blinds for your windows, you can create a beautiful and functional window treatment that complements your decor.
Frequently Asked Questions
Here are some commonly asked questions about installing blinds on bay windows:
What tools do I need to install blinds on bay windows?
You will need a measuring tape, a level, a drill, screws, and brackets to install blinds on bay windows. Make sure to also have a pencil and a step ladder on hand.
It’s important to measure the bay window accurately before purchasing the blinds. Use a level to ensure that the brackets are straight and drill holes for the screws carefully.
What type of blinds work best for bay windows?
For bay windows, it’s best to choose blinds that fit within the window frame, such as inside mount blinds. Roman shades, cellular shades, and roller shades are all good options for bay windows.
Make sure to choose blinds that complement the style of your room and provide the desired level of privacy and light control.
Can I install blinds on bay windows by myself?
Yes, you can install blinds on bay windows by yourself. However, it’s important to take accurate measurements and follow the manufacturer’s instructions carefully.
If you’re not confident in your DIY skills, it may be best to hire a professional to install the blinds for you.
How do I measure for bay window blinds?
To measure for bay window blinds, measure the width of each section of the bay window and the height of the window from the top to the bottom of each section.
Take note of any obstructions, such as window handles or locks, and make sure to account for the depth of the window frame when choosing the size of the blinds.
What are some tips for installing blinds on bay windows?
Before installing blinds on bay windows, make sure to clean the windows and window frames thoroughly. This will ensure that the brackets and blinds adhere properly.
It’s also a good idea to have a helper to assist with holding the blinds in place while you secure the brackets. Take your time and follow the manufacturer’s instructions carefully to ensure a successful installation.
In conclusion, installing blinds on bay windows can seem like a daunting task, but with the right tools and steps, it can be a simple and rewarding DIY project. Remember to take accurate measurements of your window frame, choose the right hardware for your blinds, and follow the manufacturer’s instructions carefully.
Once you’ve successfully installed your blinds, you’ll be able to enjoy the benefits of increased privacy, light control, and energy efficiency. Plus, your bay windows will look even more beautiful with the addition of stylish blinds.
So go ahead and get started on your project today! With a little bit of patience and effort, you’ll be able to transform your bay windows into a functional and stylish part of your home.


